In the world of e-commerce, where customers cannot physically touch or inspect products before making a purchase, high-quality images play a crucial role. They serve as the first point of contact between the customer and the product, influencing purchasing decisions significantly. High-quality images can:
Create a Positive First Impression: Sharp, clear images that accurately represent the product can create a positive first impression, instilling trust in the customer.
Highlight Product Details: Detailed images can showcase the features and quality of the product, helping customers make informed decisions.
Enhance Brand Perception: Consistent, high-quality images across your e-commerce store can enhance your brand’s perception, conveying professionalism and reliability.
Increase Conversions: Studies have shown that high-quality images can lead to higher conversion rates, as customers are more likely to purchase products they can see clearly.
Shopify is a popular e-commerce platform that provides users with a user-friendly interface for creating and managing online stores. One of Shopify’s key features is its robust photo uploading capabilities, which allow users to easily upload and manage product images.
With Shopify, users can:
Upload Multiple Images: Shopify allows users to upload multiple images for each product, showcasing different angles, colors, and features.
Organize Images: Users can organize images into galleries, making it easy for customers to view all product images in one place.
Edit Images: Shopify provides basic image editing tools, such as cropping and resizing, to help users optimize their product images for the web.
Optimize Images for SEO: Users can add alt text to their images, helping improve their search engine optimization (SEO) and making their products more discoverable online.
Overall, Shopify’s photo uploading capabilities make it easy for users to create visually appealing online stores that effectively showcase their products to potential customers.
Preparing Your Photos for Upload
Before uploading images to Shopify, it’s essential to prepare them properly to ensure they look great on your store and load quickly for your customers. Here are some tips:
Resolution: Use high-resolution images (at least 2048 pixels wide) to ensure clarity and detail, especially for zoomed-in views.
File Format: Save images in either JPEG, PNG, or GIF formats. JPEG is ideal for photographs, while PNG is better for images with transparency or sharp edges.
Aspect Ratio: Maintain a consistent aspect ratio for your images to avoid distortion. Shopify recommends a 1:1 ratio for square images or a 4:3 ratio for rectangular images.
Optimize for Web: Use image editing software to optimize your images for the web. This includes reducing file sizes without compromising quality. Shopify’s built-in image optimizer can help with this.
File Naming: Use descriptive file names for your images, including keywords related to your product. This can help with SEO and organization.
Importance of Optimizing Images for Web
Optimizing images for the web is crucial for a smooth and fast-loading shopping experience. Here’s why it’s important:
Faster Loading Times: Optimized images load faster, reducing bounce rates and improving user experience.
Improved SEO: Faster-loading pages are favored by search engines, potentially boosting your store’s search rankings.
Better Conversion Rates: A faster website leads to higher conversion rates, as customers are more likely to stay and make a purchase.
By following these tips and optimizing your images for the web, you can ensure that your Shopify store looks professional, loads quickly, and provides a seamless shopping experience for your customers.
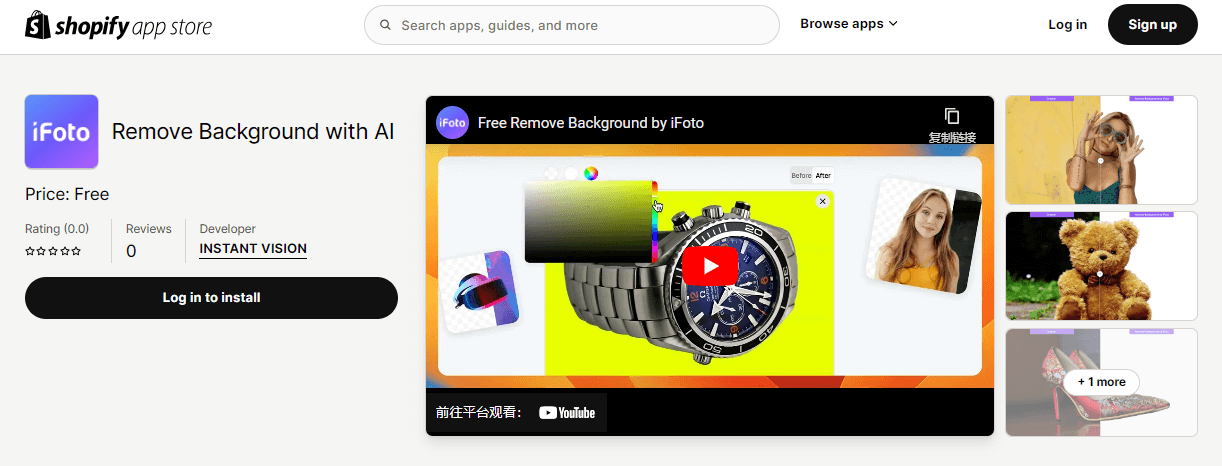
Transform Your Shopify Store with iFoto Background Remover
iFoto 背景去除器 is a cutting-edge Shopify app that simplifies the editing process for product images. By leveraging AI technology, this app provides a seamless solution to remove or replace backgrounds with precision, enhancing your products effortlessly.
主要特徵:
AI-Powered Background Removal: Advanced algorithms ensure accurate and precise background removal, enhancing your product images effortlessly.
Customizable Backgrounds: Choose from transparent, white, or custom-colored backgrounds to match your brand’s aesthetics.
Easy-to-Use Interface: The user-friendly interface simplifies editing, allowing for quick and efficient modifications.
Seamless Shopify Integration: Direct integration with Shopify enables you to edit product images directly from your store’s backend.
Time-Saving Automation: The app’s automated background removal process saves you time, allowing you to focus on other aspects of your business.
By using iFoto Background Remover, you can revolutionize your Shopify store’s image editing process and create a professional and visually appealing online presence.
How to Upload Photos on Shopify
Uploading photos to your Shopify store is a simple process that can enhance the visual appeal of your products and pages. This guide will walk you through the steps of uploading photos using different methods.
Method 1: Uploading Photos from Your Computer
Access Your Shopify Admin Dashboard: Log in to your Shopify account and navigate to the admin dashboard.
Navigate to the Product or Page: Select the product or page where you want to add photos.
Click on ‘Upload File’: Look for the option to upload photos and click on ‘Upload File.’
Select Photos from Your Computer: A file explorer window will open. Navigate to the folder where your photos are saved and select the photos you want to upload.
Add Alt Text (Optional): Add descriptive alt text to your photos for accessibility and SEO purposes.
Upload Photos: Click on the ‘Upload’ button to upload the selected photos to your Shopify store.
Method 2: Importing Photos from a URL
Access Your Shopify Admin Dashboard: Log in to your Shopify account and navigate to the admin dashboard.
Navigate to the Product or Page: Select the product or page where you want to add photos.
Click on ‘Add Media’: Look for the option to add media and click on ‘Add Media.’
Select ‘Import from URL’: Choose the option to import photos from a URL.
Enter the Image URL: Copy and paste the URL of the image you want to import into the designated field.
Add Alt Text (Optional): Add descriptive alt text to your photos.
Import Photos: Click on the ‘Import’ button to import the photo from the URL to your Shopify store.
Uploading photos to your Shopify store is an essential part of creating a visually appealing online store. By following these step-by-step instructions, you can easily upload photos using different methods and enhance the visual appeal of your products and pages.
Organizing Photos on Shopify
Use Folders: Create folders to categorize your photos based on products, collections, or themes. This makes it easier to locate specific images when needed.
Add Tags: Use tags to further categorize your photos. Tags can include keywords related to the image, making it easier to search for specific photos later.
Managing and Editing Photos in Shopify
Accessing Your Photos
In your Shopify admin dashboard, navigate to ‘Settings’ and then ‘Files’ to access your uploaded photos.
Managing Photos
Editing: Click on the photo you want to edit to open the image editor. Here, you can crop, rotate, and resize the image.
Deleting: To delete a photo, select the photo and click on the ‘Delete’ button.
Bulk Editing
Use the bulk editing feature to apply changes to multiple photos at once. Select the photos you want to edit, then choose the editing option from the menu.
Replacing Photos
To replace an existing photo with a new one, click on the photo and select ‘Replace.’ Choose the new photo from your computer.
Optimizing for SEO
Add alt text to your photos to improve SEO. Alt text should be descriptive and include relevant keywords.
Showcasing Photos in Shopify Themes
Choose a Theme with Image Support: Select a Shopify theme that offers ample space and layout options for showcasing photos.
Homepage Slideshow: Use a slideshow or carousel on your homepage to highlight featured products or promotions.
Product Pages: Include multiple high-quality images of each product from different angles. Consider using zoom features to allow customers to see details.
Collections: Use images that represent each collection effectively. Consider creating custom banners for each collection to make them visually appealing.
Blog Posts: Use images to break up text and make your blog posts more visually engaging. Ensure images are relevant to the content of the post.
We encourage you to apply the tips and techniques learned in this article to improve the visual appeal and performance of your Shopify store. High-quality, well-organized photos can significantly enhance the user experience and help drive conversions. By taking the time to prepare, organize, and use photos effectively, you can create a visually stunning online store that attracts and retains customers.
常見問題解答
How do I access the Shopify admin dashboard to upload photos?
To access your Shopify admin dashboard, log in to your Shopify account and click on the “Admin” button.
Can I upload photos directly from my computer to Shopify?
Yes, you can upload photos directly from your computer to Shopify by navigating to the “Files” section in your admin dashboard and clicking on the “Upload files” button.
What file formats are supported for uploading photos to Shopify?
Shopify supports JPEG, PNG, and GIF file formats for uploading photos.
Is there a limit to the number of photos I can upload to Shopify?
Shopify does not impose a strict limit on the number of photos you can upload, but it’s recommended to optimize images for faster loading times.
Can I edit photos after uploading them to Shopify?
Yes, you can edit photos after uploading them to Shopify by clicking on the photo in the “Files” section and selecting the “Edit” option.
How do I organize my photos in Shopify?
You can organize your photos in Shopify by using folders and tags. Folders can help you categorize photos, while tags can be used for further classification.
Can I upload photos to Shopify from a URL?
Yes, you can import photos from a URL by selecting the “Import from URL” option in the “Files” section of your admin dashboard.
Do I need to optimize my photos for the web before uploading them to Shopify?
It’s recommended to optimize your photos for the web before uploading them to Shopify to ensure faster loading times.
Can I upload photos to Shopify using a mobile device?
Yes, you can upload photos to Shopify using a mobile device by accessing the admin dashboard through a web browser.
Are there any restrictions on the size or dimensions of photos I can upload to Shopify?
While there are no strict restrictions, it’s recommended to use high-resolution images for better quality. Shopify automatically optimizes images for web use.